


How to Apply Dipping Powder - OPI Powder Perfection Acrylic Dip Collection
Prep nails by following the steps in our Powder Perfection Nail Prep tutorial.
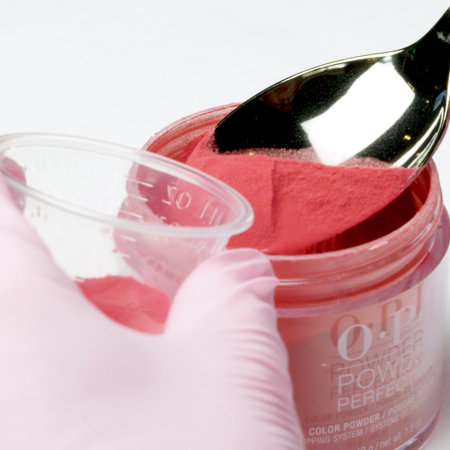
Before application, scoop out enough of each powder into a separate container to prevent cross contamination.
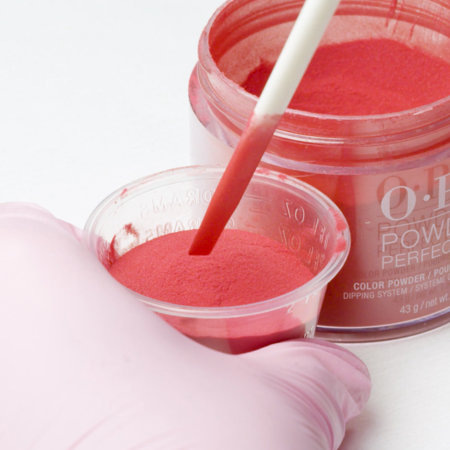
Stir each powder to ensure pigments are completely blended.
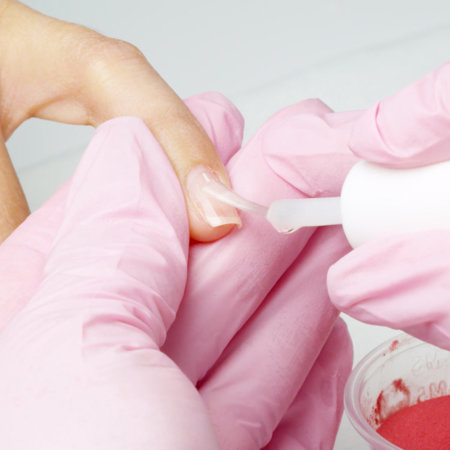
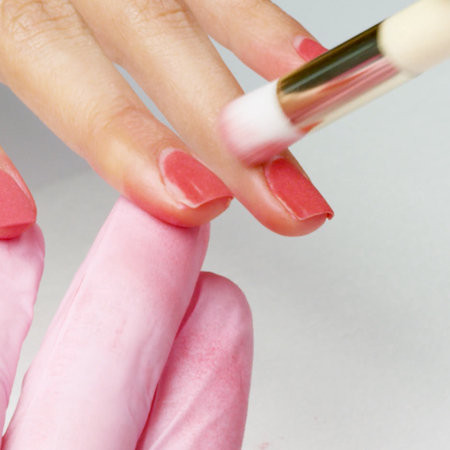
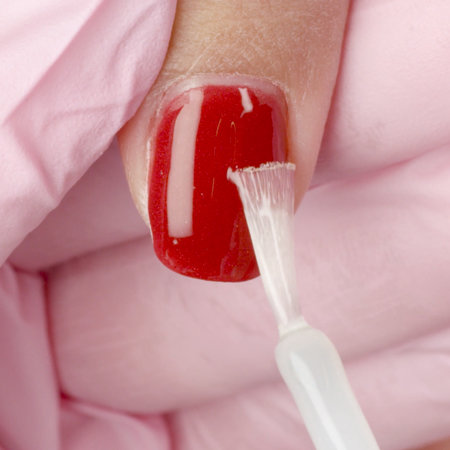
Once nails are prepped, begin by brushing one coat of Base Coat on a single nail. Make sure to cover the entire surface evenly while leaving a tiny margin at the cuticle area. This will prevent a bulky cuticle area.
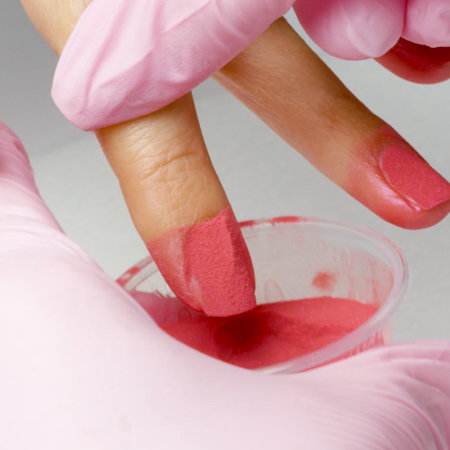
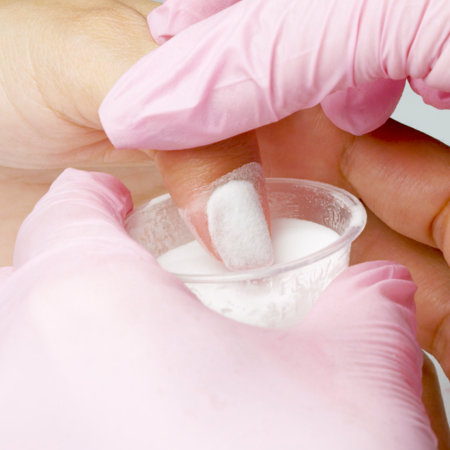
Immediately dip the painted nail into Color Powder Big Apple Red at a 45 degree angle, then tap off the excess powder. Repeat this on each nail one at a time to prevent the Base Coat from drying too quickly.
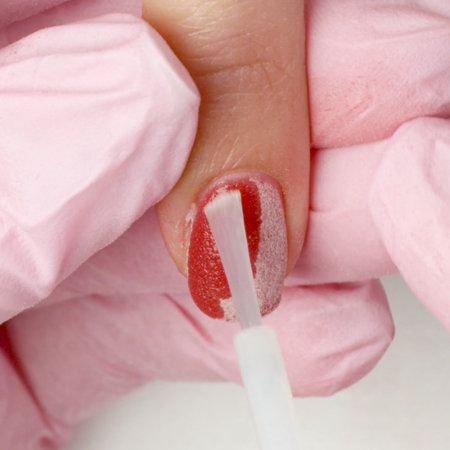
Next, dust off any remaining powder with a sanitized cosmetic brush making sure to focus on the cuticle area, side walls, and under the free edge.
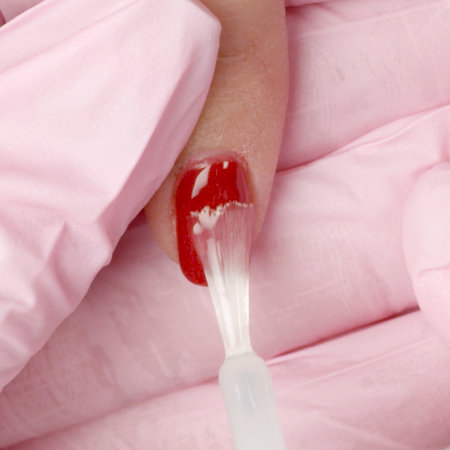
Apply a second coat of Base Coat, getting slightly closer to the cuticle this time, and repeat the previous steps on each nail one at a time.
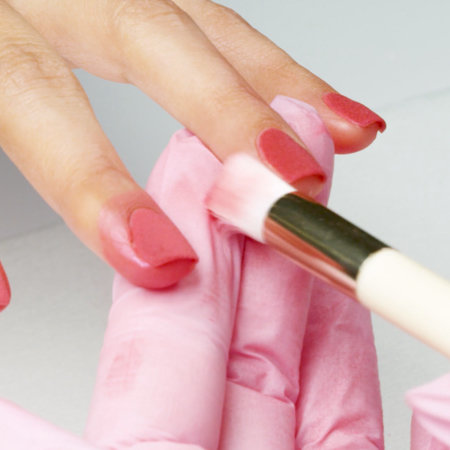
Dust off any remaining powder again making sure to focus on the cuticle area, side walls, and under the free edge. This will prevent any contamination of both liquid and the Clear Color Set Powder in the next step.
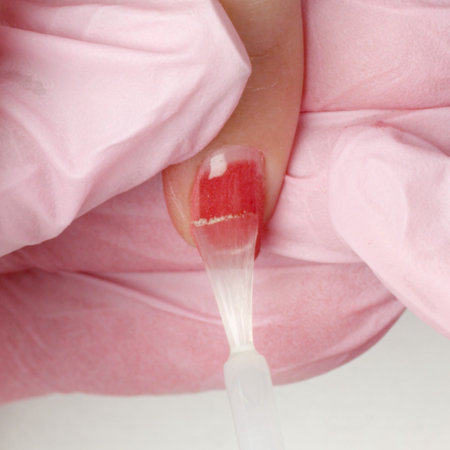
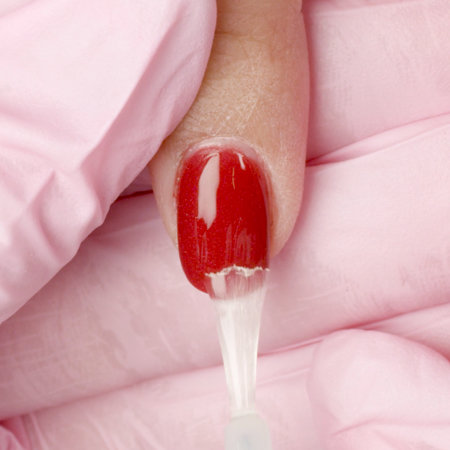
Brush on one thin and even coat of Base Coat, then dip the finger in Clear Color Set Powder at a 45 degree angle, let it absorb, and tap off any excess. Brush away any leftover powder with a sanitized cosmetic brush.
Next, apply one generous coat of Activator making sure the entire nail surface is covered. Then cap the free edge and allow it to harden for up to 2 minutes in the US, and 4 minutes if you’re International.
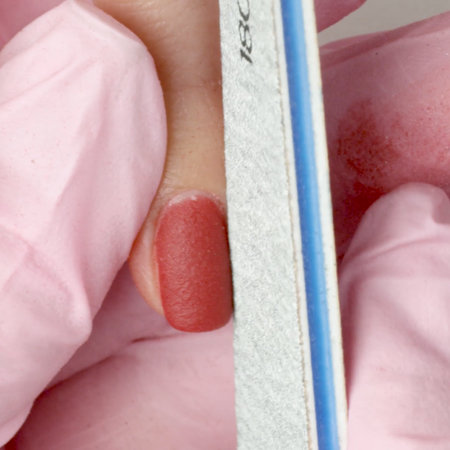
Once nails are hard, shape them and contour around the cuticle area and sidewalls to prevent a bulky looking enhancement.
When filing, always make sure the enhancement is flush with the nail and that there are no bumps or ridges where the enhancement begins at the cuticle area. Do this for the sidewalls as well.
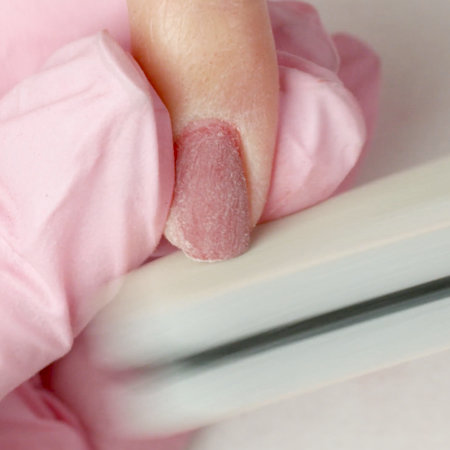
Now, begin buffing the nails, using a heavier grit and working my way up. Don’t forget the cuticle and sidewall areas! Continue by smoothing nails using finer buffer.
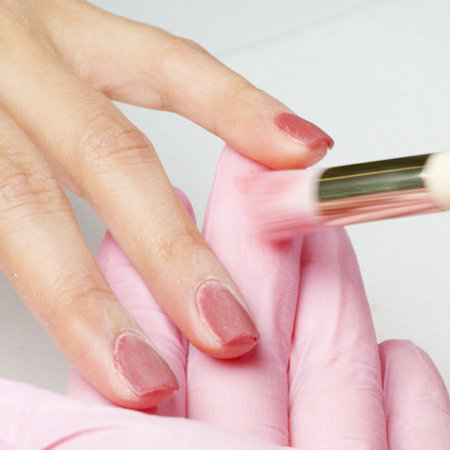
Remove any excess filing dust. Remember to pull the skin back around the sidewall areas as well as under the free edge to remove any hidden dust that could affect the final result.
Apply a heavy coat of Activator. Applying lightly will cause my Top Coat either to not cure or the finish will be matte. For those in the US, you need to wait up to 2 minutes and 4 minutes for International.
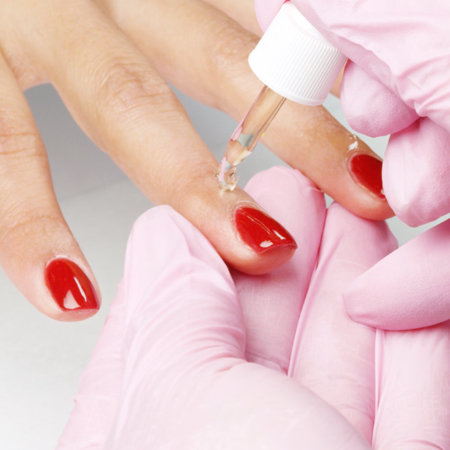
After waiting the correct amount of time for the Activator to absorb, apply Top Coat using 2-3 quick brush strokes.
Allow Top Coat to dry for 1-2 minutes, then apply a second coat, this time with precision as this is your final coat and you cannot go back and touch up once its applied. Allow final coat of Top Coat to dry for 1-2 minutes.
Once nails are dry, complete the Powder Perfection manicure with a few drops of OPI ProSpa Nail and Cuticle Oil.
How to Apply OPI Powder Perfection Dipping Powder
- A new, quick applying, odor-free acrylic alternative that promotes a clean-air environment while offering gel-like shine & weeks of wear without the need to light cure.
- The adhesion and ease of application makes OPI Powder Perfection the ideal choice for clients who desire strength, durability, and long-lasting color
Instructions
Nail Prep
Ensure nails are free of debris and oils for maximum wear
Step 1:
(Base coat, Color Powder, Base coat, Clear Powder)
- Apply 1 coat of base coat then dip into the shade of choice.
- Apply Activator
- Repeat until desired shade is reached
- Base coat + Color powder + Activator
- Apply one more layer of Base Coat, then finish by dipping into the Clear Color.
Step 2:
(Base coat + Activator + Clear Powder)
- Apply last layer of Activator.
- Allow 1-2 minutes for activator to dry and nails to harden.
Step 3:
- Shape and contour nails.
- Smooth the nail surface for the top coat.
- Apply Top Coat (OPI Step 3 Top Coat)
- Allow Top coat to dry.
- Apply last coat of Top Coat
Sample Block Quote
Praesent vestibulum congue tellus at fringilla. Curabitur vitae semper sem, eu convallis est. Cras felis nunc commodo loremous convallis vitae interdum non nisl. Maecenas ac est sit amet augue pharetra convallis nec danos.
Sample Paragraph Text
Praesent vestibulum congue tellus at fringilla. Curabitur vitae semper sem, eu convallis est. Cras felis nunc commodo eu convallis vitae interdum non nisl. Maecenas ac est sit amet augue pharetra convallis nec danos dui.
Cras suscipit quam et turpis eleifend vitae malesuada magna congue. Damus id ullamcorper neque. Sed vitae mi a mi pretium aliquet ac sed elitos. Pellentesque nulla eros accumsan quis justo at tincidunt lobortis denimes loremous. Suspendisse vestibulum lectus in lectus volutpat, ut dapibus purus pulvinar. Vestibulum sit amet auctor ipsum.